The Step-by-Step Process of Aircon Installation in Newcastle: What to Expect
The journey from sweltering rooms to refreshing havens begins with choosing the right system. Split, ducted, or reverse cycle? Each offers unique benefits. Once decided, the installation process unfolds. From assessing your home’s layout to finding the optimal placement, it includes many steps. This guide will demonstrate all those steps for you, ensuring you have the right expectations.
Let’s begin.
1. Initial Assessment
The first step in aircon installation is to consult a good HVAC professional. Then, a technician will visit to assess your heating and cooling needs.
They will consider several factors, such as:
- The size of your home
- The number of rooms requiring cooling
- Your energy efficiency goals
- Your budget and preferences
The technician will assess the building’s layout to find the best air conditioner type—split, ducted, or another. Remember, Newcastle’s hot summers and mild winters also play a role in this decision. Based on this, you will get a personalised recommendation and cost estimate.
2. Selecting the Right Aircon System
Now, it’s time to select your aircon. Your choice should balance energy efficiency, cooling capacity, and aesthetics.
Popular aircon options in Newcastle include:
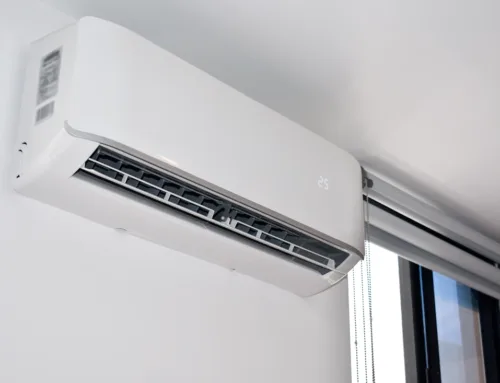
- Split systems: Ideal for single rooms or smaller spaces
- Ducted systems: Perfect for whole-home cooling
- Reverse cycle systems: Provide both heating and cooling
- Inverter systems: Known for energy efficiency and quiet operation
Common Aircon Problems:
Before discussing repair methods, it’s helpful to know the common AC issues.
These include:
- Inadequate Cooling: The air conditioner runs but doesn’t cool the room effectively.
- Unusual Noises: Strange sounds like banging or rattling could indicate mechanical problems.
- Water Leaks: Dripping water from the unit may point to a clogged drain pipe or refrigerant issue.
- Frequent Cycling: The system turns on and off more frequently than usual, potentially due to thermostat problems or dirty filters.
- Complete Failure: The unit doesn’t turn on, often caused by electrical or mechanical faults.
Your HVAC expert will help you pick a model that matches your home and lifestyle. Choose energy-efficient models if you prioritise lower electricity costs and higher sustainability.
3. Preparing for Installation
Ahead of installation, clear the area of furniture and belongings. Secure necessary approvals for rentals or strata properties. Confirm the date and time with your HVAC provider. These steps streamline the process, reducing disruption and boosting efficiency. Proper preparation paves the way for a smooth installation experience, ensuring technicians can work unimpeded and swiftly in your space.
4. Installation Day: Setting Up the Indoor and Outdoor Units
The installation day begins with the arrival of the technician team, who will bring all the necessary tools and equipment.
The process typically involves:
a. Indoor Unit Installation
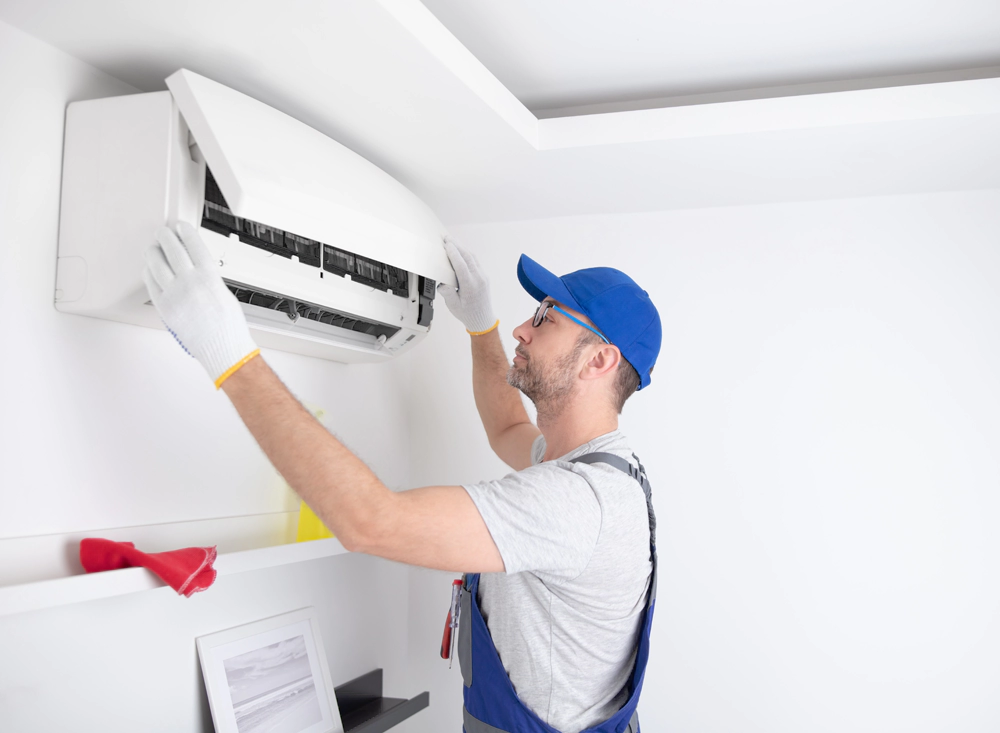
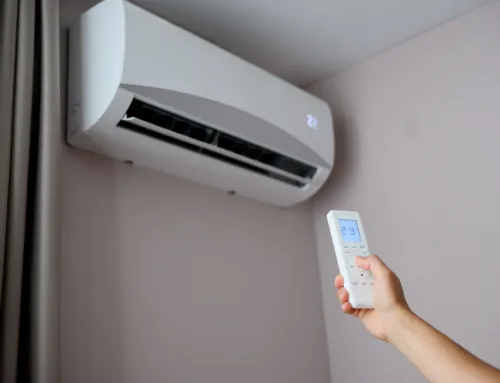
For a split system, the indoor unit is usually mounted on a wall. The technicians will:
- Locate a suitable position for optimal airflow.
- Drill a hole through the wall for refrigerant piping, electrical wiring, and drainage.
- Securely mount the unit on a bracket to ensure stability.
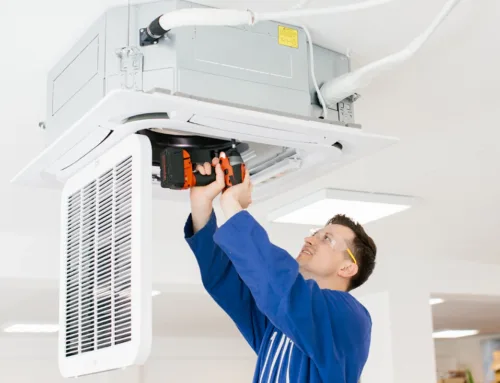
If you’ve chosen a ducted system, the team will install ducts and vents in your ceiling or walls, connecting them to a central unit.
b. Outdoor Unit Installation
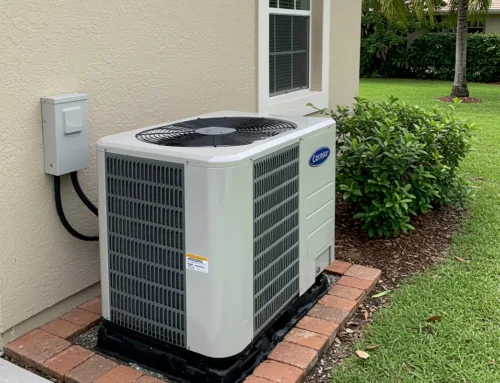
The outdoor unit, often referred to as the condenser, is installed next. It’s typically placed on a flat surface, such as a concrete slab or mounting bracket. The placement is critical for:
- Adequate ventilation
- Noise reduction
- Protection from environmental elements
The technicians ensure the unit is positioned away from windows or doors to minimize noise disturbances.
5. Connecting the System
Once the indoor and outdoor units are in place, the technicians connect them using refrigerant piping and electrical wiring.
This step involves:
- Attaching the refrigerant lines to transfer heat between the indoor and outdoor units.
- Connecting the power supply to ensure efficient operation.
- Setting up a condensate drain to manage moisture produced during the cooling process.
All connections are checked for leaks or improper sealing to prevent performance issues down the line.
6. Testing and Calibration
With the system connected, the technicians will conduct thorough testing to ensure everything is functioning correctly.
This includes:
- Turning on the air conditioner and checking for proper airflow and cooling.
- Testing the thermostat or remote control for accurate temperature settings.
- Verifying that the refrigerant levels and electrical connections are optimal.
During this stage, the technicians will also calibrate the system to achieve maximum efficiency and comfort.
7. Cleanup and Final Walkthrough
After installation, technicians will clean the area and guide you through a final walkthrough, explaining how to operate your new system.
Key points include:
- Demonstrating how to adjust settings using the remote or control panel.
- Advising on maintenance tips, such as cleaning filters and scheduling professional servicing.
- Answering any questions about system features or warranties.
8. Post-Installation Maintenance
Once your aircon is up and running, the real work begins. Keeping it in top shape is vital to its longevity and performance.
Here are some vital reminders:
- Filter vigilance: Clean or replace your filters every 1-3 months to ensure optimal airflow and maximise energy efficiency.
- Annual tune-up: Book a professional service to check refrigerant levels, clear those coils, and keep your system humming like new.
- Energy bill scrutiny: Keep an eye on your bills; an unexpected spike could signal a problem brewing beneath the surface.
Why Choose a Professional for Aircon Installation?
Newcastle’s HVAC maestros blend expertise with local insight for aircon installation.
When you choose licensed technicians, rest assured that:
- Every installation will be in harmony with local codes and regulations.
- You’ll get savvy advice on energy-efficient systems, perfect for Newcastle’s climate.
- The whole process unfolds seamlessly, wrapped up within the agreed timeline.
Final Thoughts
Knowing the process step-by-step builds confidence and ensures smooth installation. Each stage, from consultation to maintenance, is key for a cool home in Newcastle. If you’re ready to upgrade your space with aircon, contact Newcastle’s trusted HVAC experts at Onsite Air. They will guide you, ensuring your system works perfectly for years.
Share on
Get a FREE Quote

